Showing posts with label Star. Show all posts

Thursday, 16 May 2013

Sam's Quilt

Happy first birthday Sam! The birthday boy has received his birthday quilt which means I can share the finished article with you all. It's a good job he's into colour as this quilt has turned out a bit on the bright side! Primary colours, what was I thinking?! Oh who am I trying to kid - I love garish. Fortunately, it's a hit with a one year old - his Mum says that he enjoys pointing at the patterns. How cute is that?

Star Block Quilt Retro Rocket Rascals

I decided to go for the star block design by Cluck Cluck Sew. I've made this design once before for my Stars and Scraps Quilt, but I thought the stars would work well with the sputnik fabric (continuing the spacey theme, see what I did there). If you want to know more about the fabrics used for the quilt top, see my last post. It's the back of the quilt that I'm uber-excited about though - it's quite possibly the cutest quilt back ever.

Riley Blake Designs Peak Hour Kellie Wulfsohn Quilt

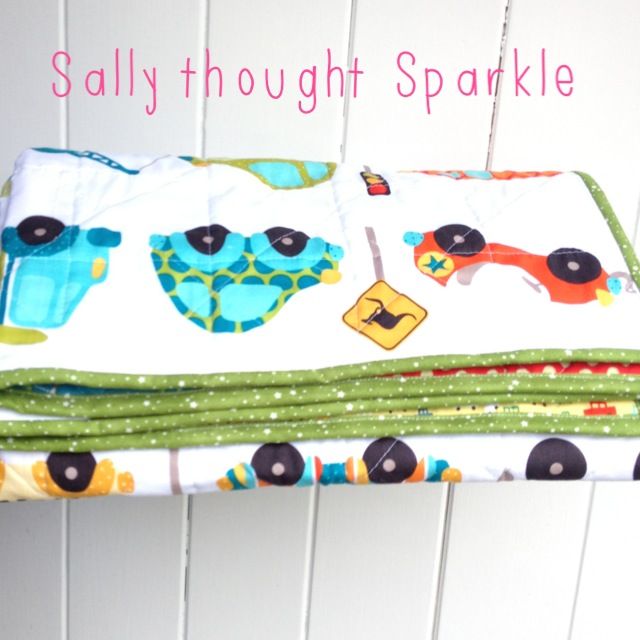
I know, just how good is that? I could swoon over that fabric all day. It's Riley Blake Designs DC2836, Peak Hour by Kellie Wulfsohn for Don't Look Now. I bought it at The Viking Loom in York if you're in the area and desperate to get your hands on some! I had planned to go for something quite plain as the backing but as soon as I saw this I knew it would be perfect. I really like how it features a small amount of each of the colours from the quilt top, so ties in perfectly.

Star Block Quilt Retro Rocket Rascals

The binding was actually some leftover from my Emma's Christmas Stocking. It was just the perfect shade of green and has little stars all over. The quilting was simply stitched in the ditch and I also quilted some diagonals to add a bit more interest.

Sally thought Sparkle Quilt

I'm so happy with this quilt. If you're visiting over from Crazy Mom Quilts, finish it up Friday please comment below, I'd love to hear what you think.




Thursday, 13 December 2012

Icing Christmas Trees

I've made a start with the icing design for my Christmas Cakes and thought I'd share it with you. It's Christmas trees this year. Obviously.


I used flower paste for the design as it is so nice to work with, you can roll it really thin and it sets hard. The cutter and green food colouring I bought from my Imaginative Icing. Sorry about this next photo - it's food dye honestly!

 
I use the paste colours when dying flower paste as it stops the icing getting too wet and sticky and gives a much stronger colour than traditional liquid food colouring. I use the tip of a paint brush (never used for paint!) and dab a small amount onto a a third of the required flower paste. Working the dye into a smaller amount of the flower paste, then adding the remainder of the icing, helps achieve an even colour and avoids streaks. I then rolled the icing out on baking parchment dusted with icing sugar.
 
 
Then got cutting...
 
 
and cutting...
 
 
and cutting - Phew. I also cut some stars that I might use for the tops of the trees.

 
I'm letting them dry out this evening but I'll add a bit more decoration to the trees tomorrow.